


Let’s talk about motion graphics! It has the communication and visual design principles of graphic design, the motion principles of animation, and the artistry and fun of illustration. Throw all of that in a pot, and you got a little motion graphics stew going! I’ve dabbled in motion graphics here and there over the years, but I recently got the urge to jump back in. I decided to make a short character-focused animation to put my skills to the test! Nothing too complicated, but enough to get me experimenting in some software. Speaking of which, what did I use for this project? There are a lot of options these days, but Adobe After Effects is one of the more popular choices (for better or worse). I’ve become more and more frustrated with Adobe’s stance on generative AI, but unfortunately they’re the industry standard. So for now, we’ll play in their playground. For now! I decided to use a bit of Adobe Animate too, but more on that later. So what did I make?
With Halloween just around the corner, I was thinking back on trick or treats past. Luckily, I got to have the stereotypical Americana Halloween experience as a kid. Lots of fond memories and nostalgia there. I’d dress up in a fun costume (usually made very creatively and resourcefully by my mom) and roam around the neighborhood stuffing a pillowcase with more candy than I knew what to do with. Thanks to my mom, I had a lot of great costumes over the years, but one specific one came to mind. Like many kids, dinosaurs kind of blew my mind. Giant, dragon-like creatures that walked the earth millions of years ago? Amazing! Sure, they’re gone now, but we’re standing where they stood. That’s pure imagination fuel for a kid. I was totally obsessed. So much so that I remember spending hours with my grandfather collecting little dinosaur toys and trying to memorize their names.
So one year my mom, using bits of felt, foam, and hot glue, put together a costume perfect for a dino-obsessed kid; A pterodactyl! (which apparently isn’t “technically” a dinosaur, but let’s not ruin the moment here) With a modified red baseball cap as a the head, and a red sweat suit with felt wings as the body, I totally looked the part! (Thanks Mom!)
With Halloween on the way, I decided to channel that old dino-ish costume into this little animation. Check it out! It has sound too!
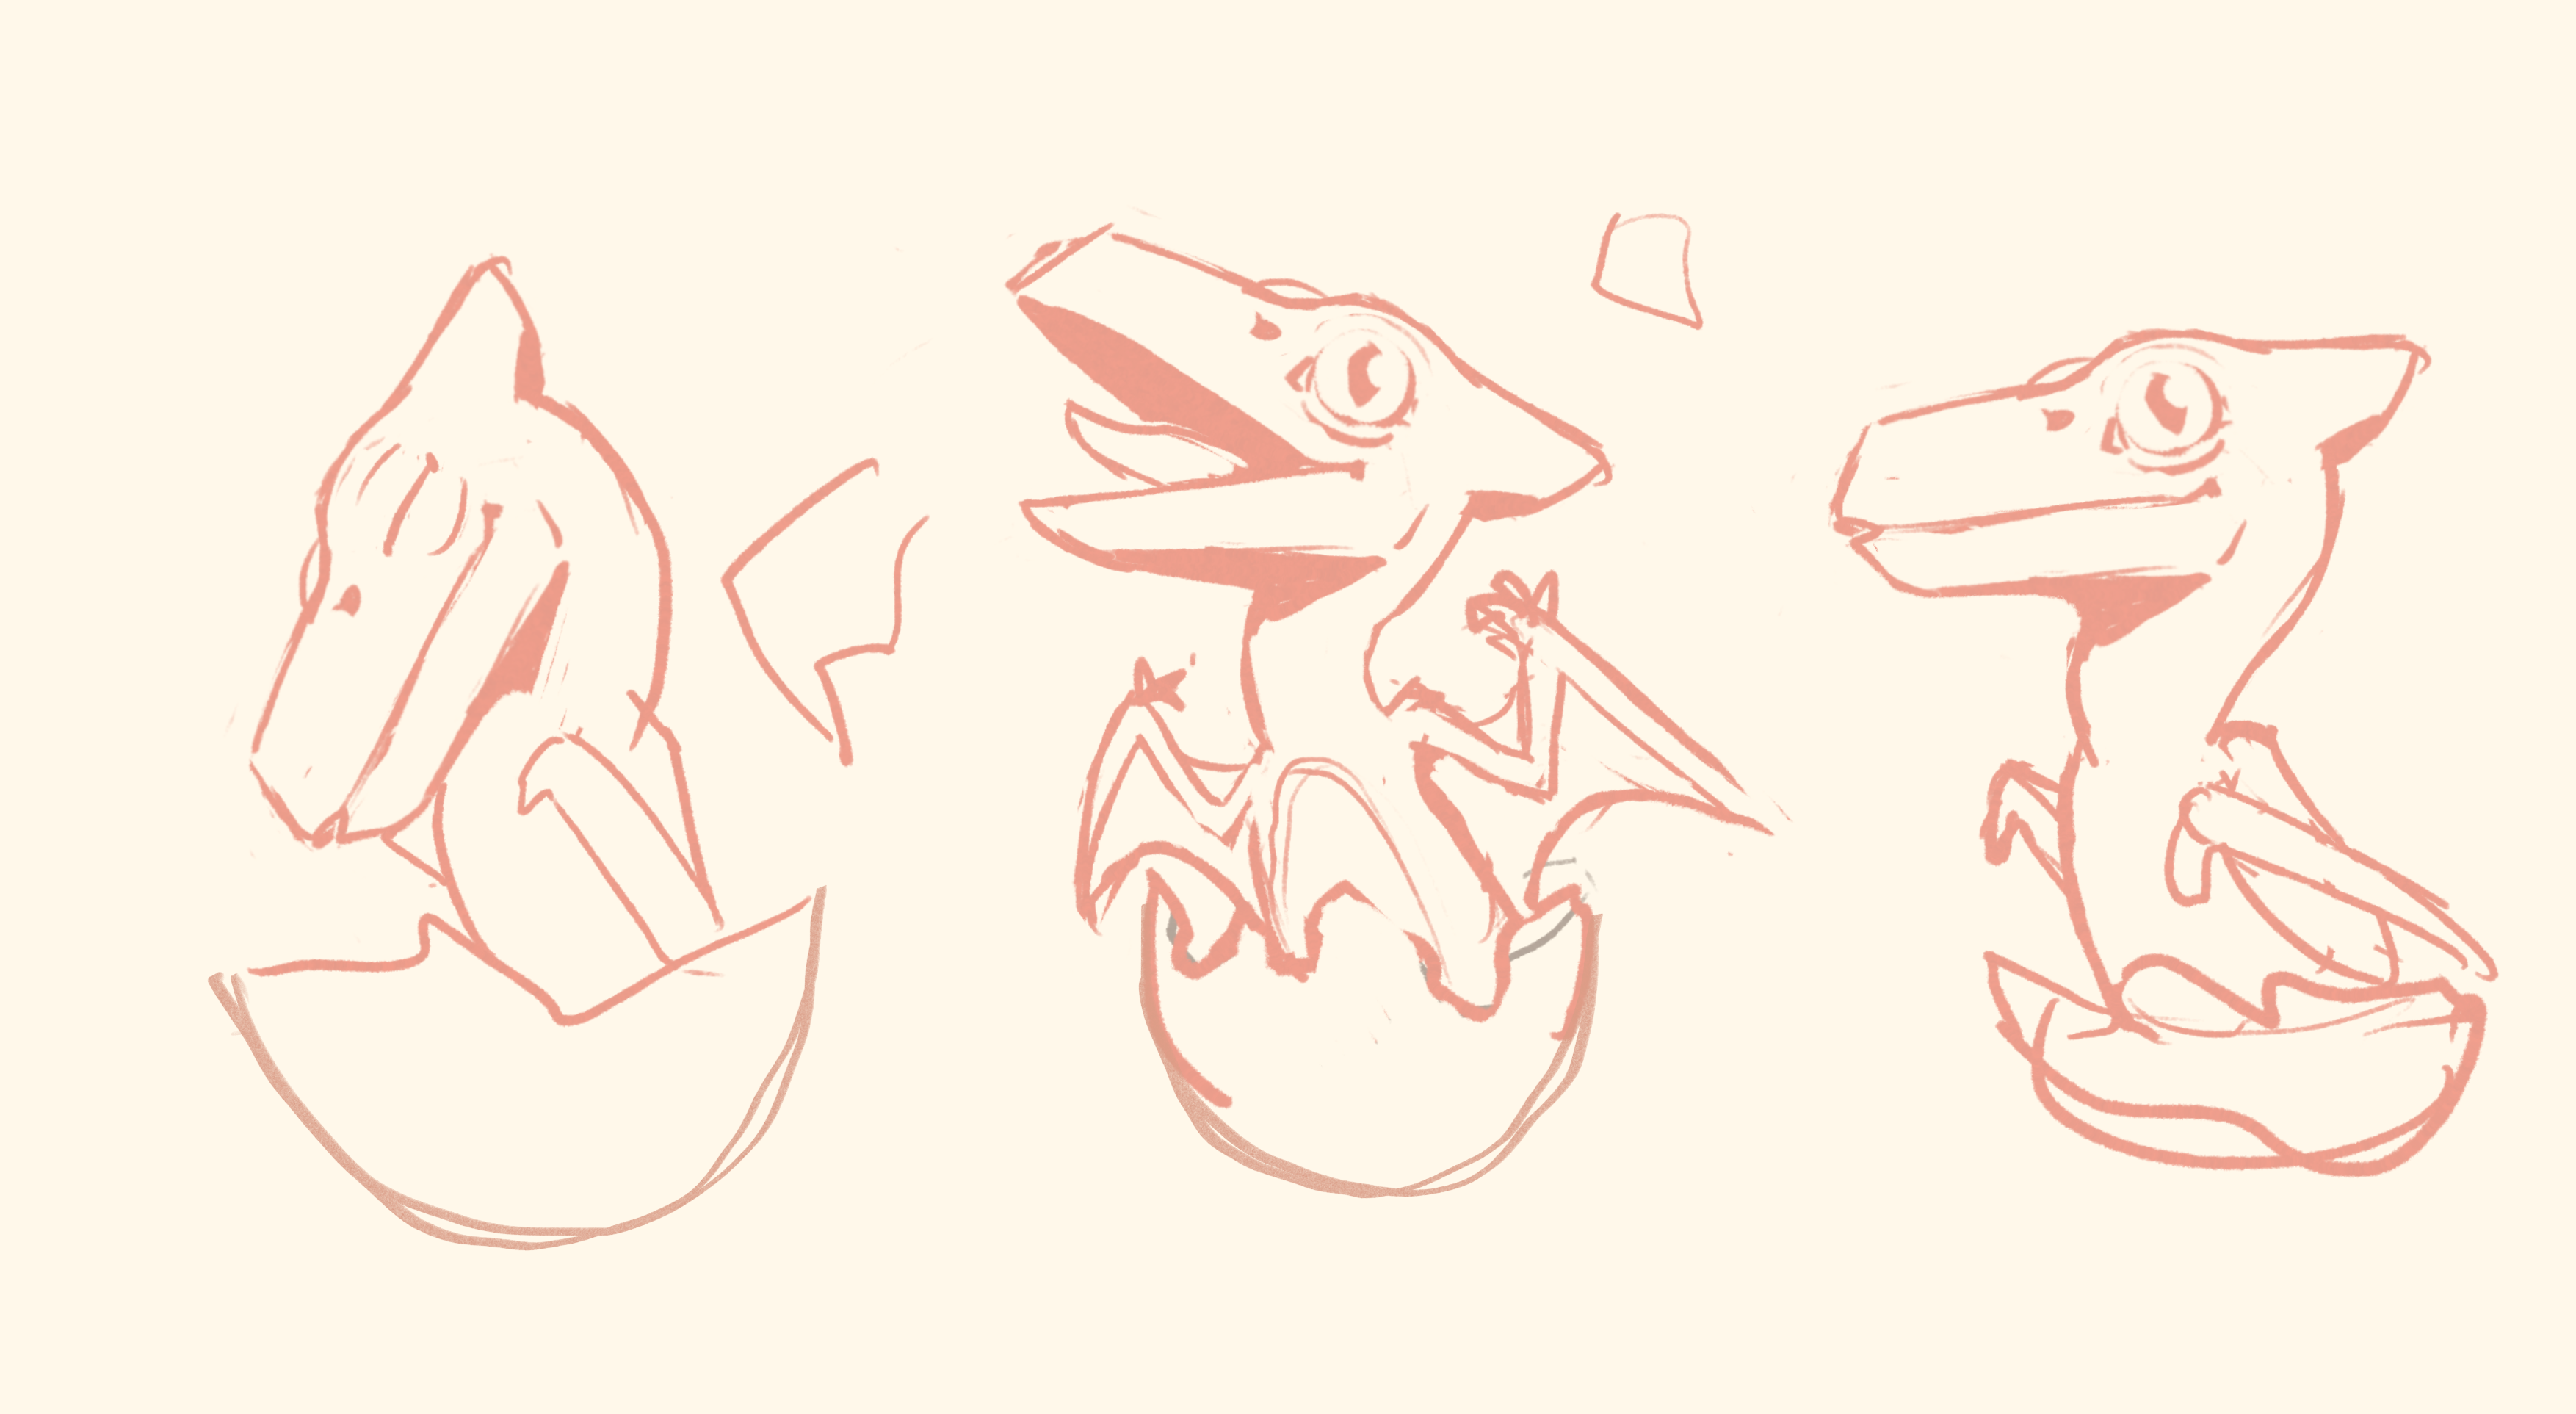
Let’s talk a little bit about the process! After I decided the subject of the animation (a baby pterosaur), I need to figure out the “story”. Since it’s just a short test, there really wasn’t much narrative. But regardless, I jumped into my sketchbook and scribbled out a little storyboard.

As you can see, there weren’t any butterflies in the original sketch. With my recent 3D animations, I’ve been trying to focus more on character-to-character interaction. It’s something that’s so essential to storytelling and acting, so I figured I’d give it a try here too. The idea was this; a little pterosaur hatches during a butterfly migration and the baby’s hungry. Simple and straightforward. I already had experience with some of After Effects’ 3d tools, so the butterfly animation would be pretty easy. The hatchling’s animation would be too, but then I got a little nostalgic…
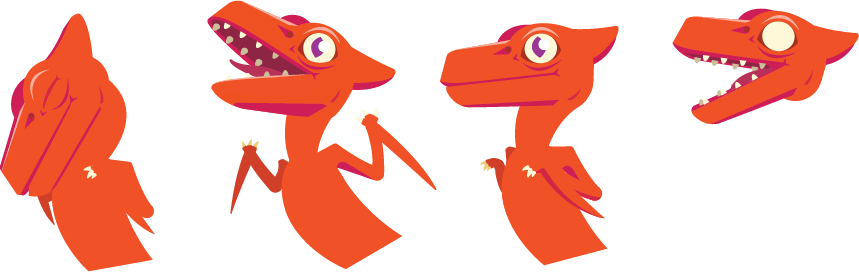
About a decade or so ago, I got really into using Adobe Flash (now known as Animate). I got the hang of it pretty quickly and used it for a whole bunch of personal and school projects. It gave me a lot of experience with animation early on. But again, that was years ago. So when I sketched the hatchling, I just knew I had to jump into Animate and finally shake off the rust. I got things started by creating the characters and the main poses in Animate.
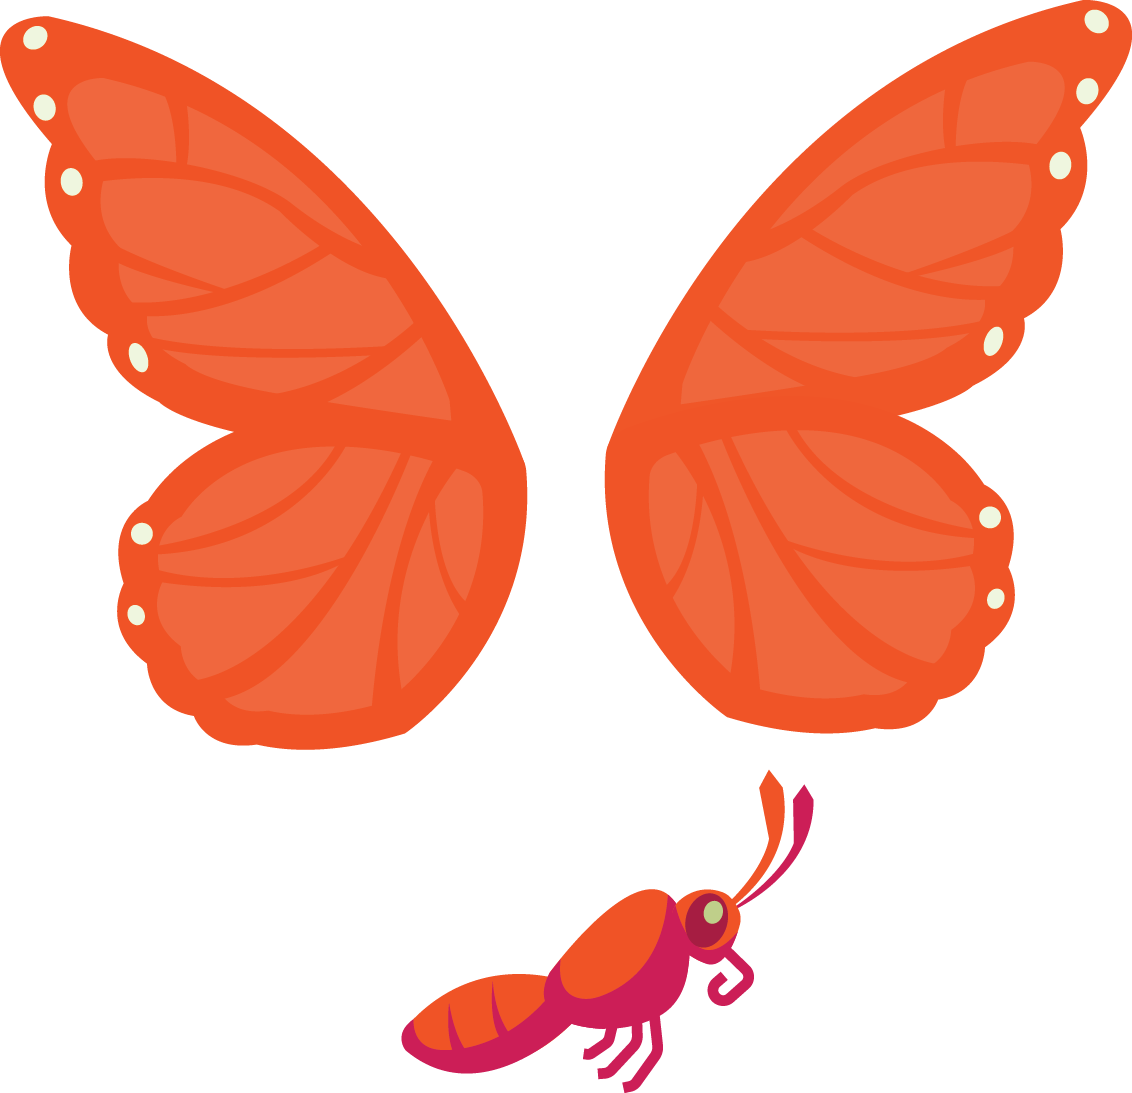
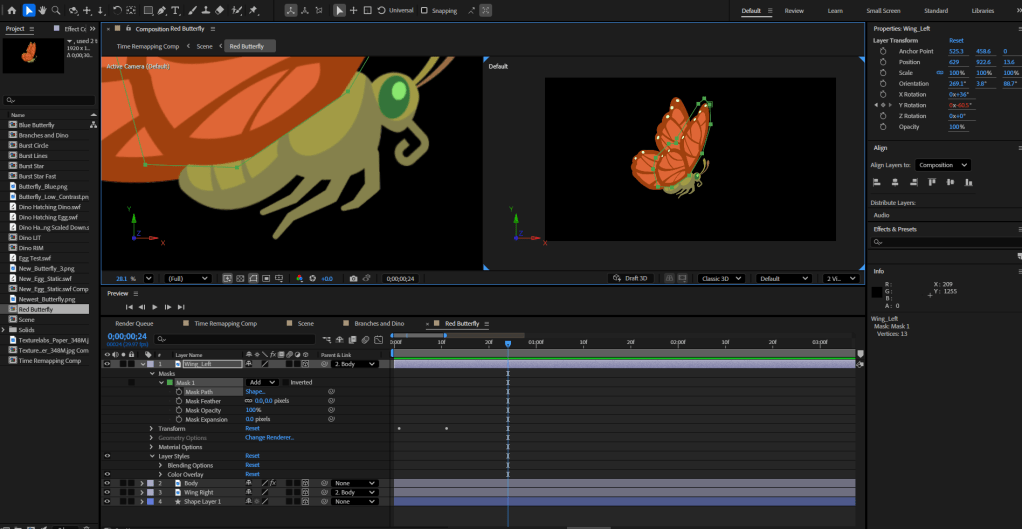
I would be animating the butterfly in After Effects, so I exported that image from Animate as a PNG. In After Effects, I masked out each body part and turned them into 3D objects. I parented the wings to the body, and then I animated the flapping motion. I made sure the butterfly was its own composition so I could create multiple butterflies in the main comp using the same base animation.
I kept working on the hatchling in Animate and animated character using the original poses as a base. Separating each body part into it’s own layer, I created a simple character rig by parenting the parts together. This way translating/rotating the upper arm automatically moved the lower arm, and rotating the neck automatically moved the head, etc. I established the timing and spacing using keyposes, and then used Animate’s classic tweens to interpolate the inbetweens. I also animated the very basic movement of the egg in Animate, but didn’t animate the egg shattering quite yet. I saved that for After Effects.
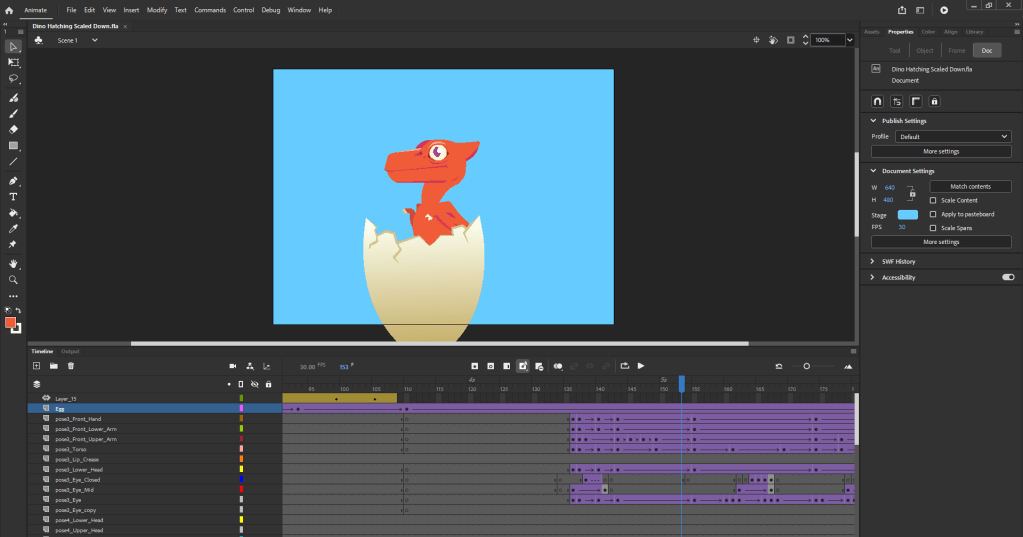
I exported the hatchling and egg as separate SWF files which I imported into AE. What’s nice about SWF files is that they’ll automatically update in AE if you make changes to the original file. This was crucial since there were several times where I needed go back to adjust a frame or two of the hatchling’s animation. But I needed to do so without having to re-import and re-scale the character. Instead, I just re-export the SWF, overwrote the original file, and jumped back into AE to see the new version replace the old one. Simple and easy!
But back to the egg! I used After Effects’ built-in shatter effect for the egg, with a mask to control the shatter area. I had to tweak it quite a bit to get a it vaguely egg like, but using this simulation saved me tons of time. I also duplicated it once to create the back or “inner” section of the egg.

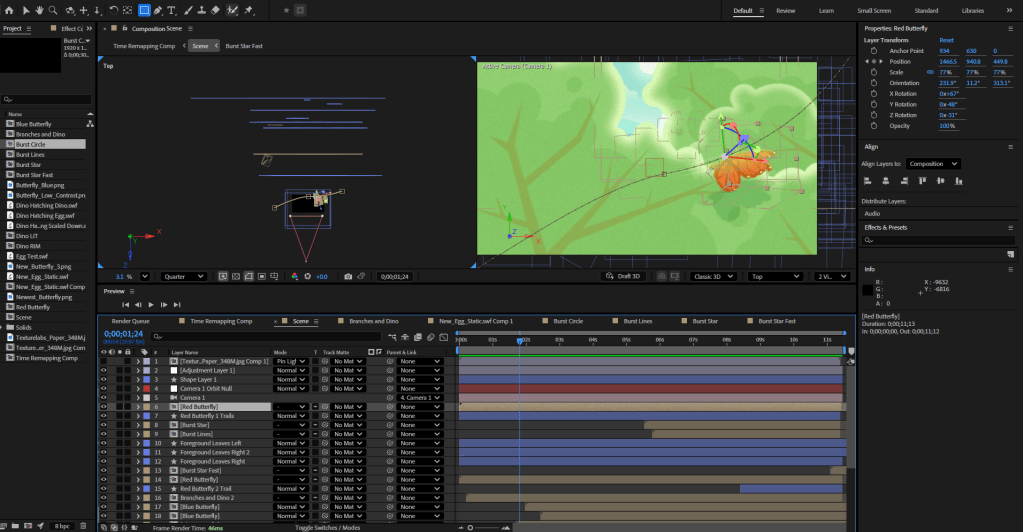
Outside of the egg, the hatchling, and the base image of the butterfly, everything else I made within After Effects. The environment I created using shape layers and the various shape tools. I grouped these together and turned them into 3D planes. That allowed me to have a 3D parallaxing effect whenever the camera zoomed or panned.

With this 3D space established, I could finally animate the butterflies! Since the base animation was within it’s own comp, I just inserted a copy of that object into the main composition whenever I needed a new butterfly. Then I animated them along motion trails that I created using the pen tool. There are two main and plain butterflies, as well a whole bunch in the background. For those background butterflies, I just applied a color fill to the basic butterfly composition to create the simple silhouette.
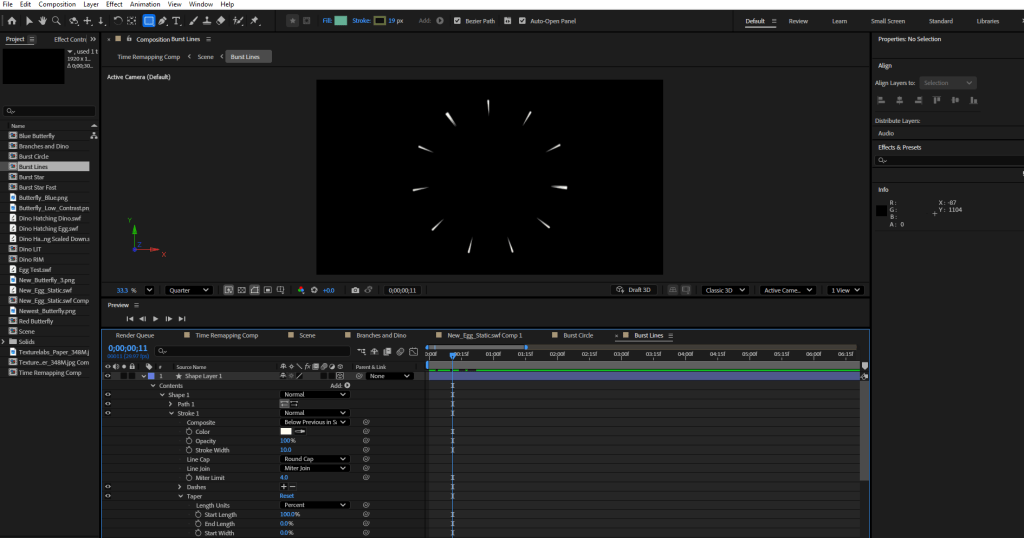
Then it was time for a bit of polish. The characters felt alive, but wanted to make sure that the environment did too! So I animated a subtle sway cycle to the branches and leaves, and offset that cycle between the layers. Things needed to feel natural, not uniform! I also added soft speed trails to the main two butterflies, just to give their flying some oomph. And finally, I made some simple burst effects that I could use throughout the animation for EMPHASIS.
And by combining all of that nonsense together into the main composition, things were complete! It was time to export out the footage. I brought it into a video editing software and got to work adding sounds. I want to give a huge shout out and thank you to Leonardo Paz. Leoh has created several free sound effects bundles over on itch.io for anyone to use. Almost all sound effects I used in this animation are from those packs. Definitely check out Leoh’s work if you need some retro-styled sounds! That audio brought tons of life to this little animation.
And with sound added, this project was complete! Just to save you the scroll, here’s the final animation again:
Aaaand that’s a wrap! It was a bit of a wordier post this month, so thanks for sticking around. Hopefully this gives you a better idea of how motion graphics animations like this one are made. This is just one example of many. I’ve realized there are several different ways I could’ve made this process more efficient, workflow-wise. But that’s something I’ll keep in mind for my next motion graphics project. Anyway, thanks again for reading. See you next month!
My Links: ArtStation / Vimeo / YouTube / Instagram


Leave a reply to Jamie Cancel reply