


I’ve said before that arcs are a super important part of animation. In order to make a character feel organic and appealing, it’s a good idea to have their motion follow arcs. Organic things rarely follow a straight line. Nature is winding, bumpy, and flowy. And the animations we create should reflect that. It’s a fundamental principle that you usually first learn with the bouncing ball exercise. But it applies to every animation you’ll create. I mentioned this before in my post about animating a tail, which was basically another bouncing ball.
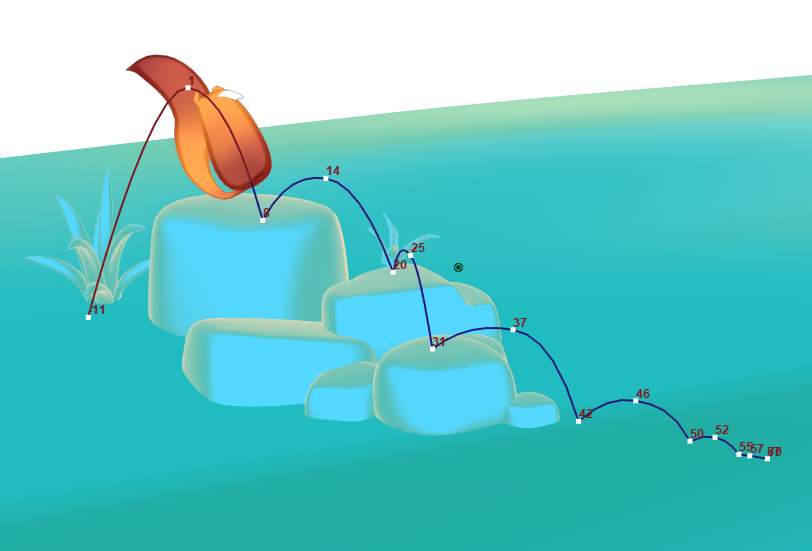
See those C-shaped curves? Those are the arcs! And this can apply to that little squirrel, or the movement of an arm, or the flap of a wing. Arcs are important outside of animation too, like in dance. Dancers use their movements to create arcing motions full of appeal. They also do so to create shapes as they land on certain poses. The same can be said of animation, where arcs consist of appealing and flowing curves. But those same curves are also important when creating poses!
If you want a character to have an appealing and clearly readable pose, have the pose follow an arc! In figure drawing, this is know as the line of action. It’s the idea that every pose can be abstracted down and described as a single line. This line represents the basic “flow” of a character’s pose. Are they leaning in a certain direction? Are they crouching or hunched over? The line of action is the most basic and intuitive way you can describe a character’s pose. This line is usually simplified in one of three ways. There’s the “I-Curve”, the “C-curve” and there’s the “S-curve”. Since the “I-Curve” is just a straight line, let’s focus on the other two.

The C-curve is the most basic of the two and describes a single arc of the body. Maybe that’s the shape of a character from head to foot. Or maybe it’s the shape created by their outstretched arms. The C-curve is the most common simplification, but there is another…the S-curve! The S-curve serves the same purpose, but also describes a change in direction. Maybe a character’s body is leaning in one direction, but their head is tilted in the opposite. It adds just a little bit more complexity to the pose.
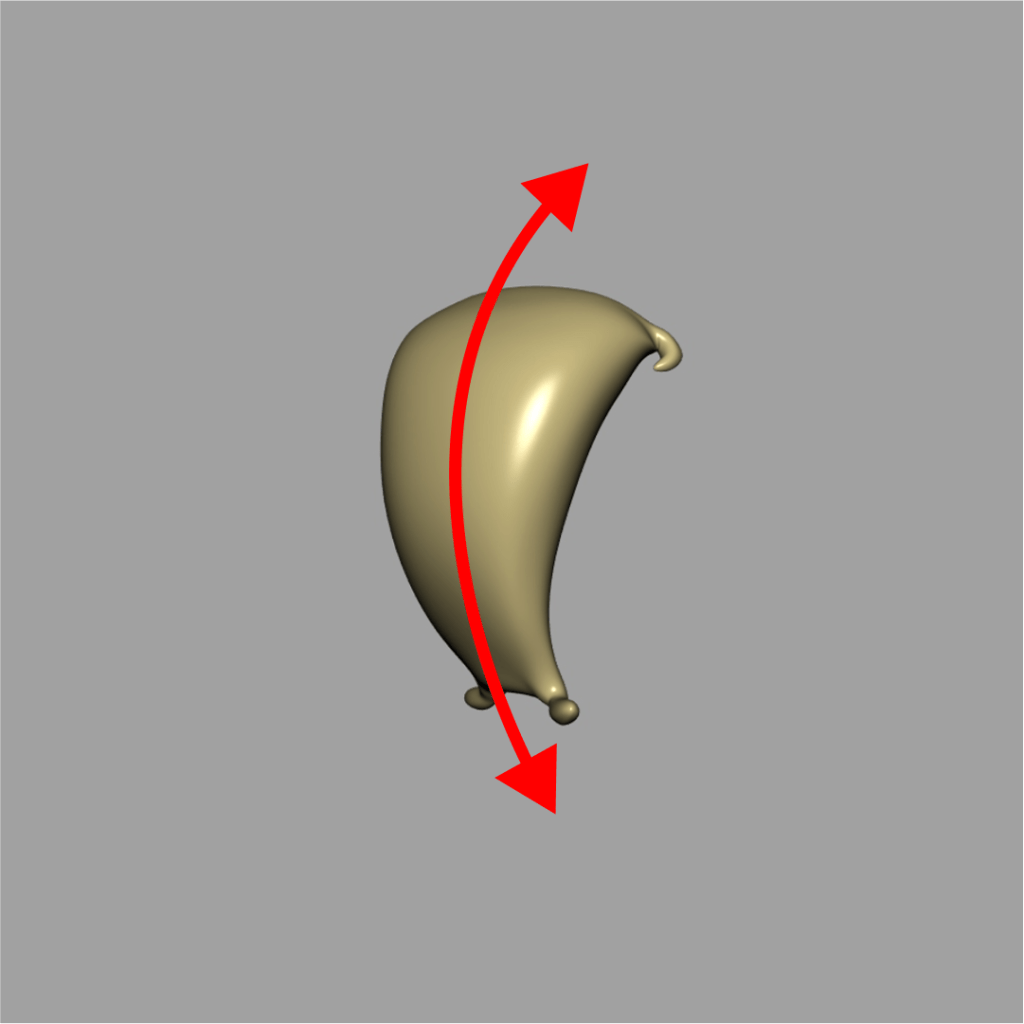
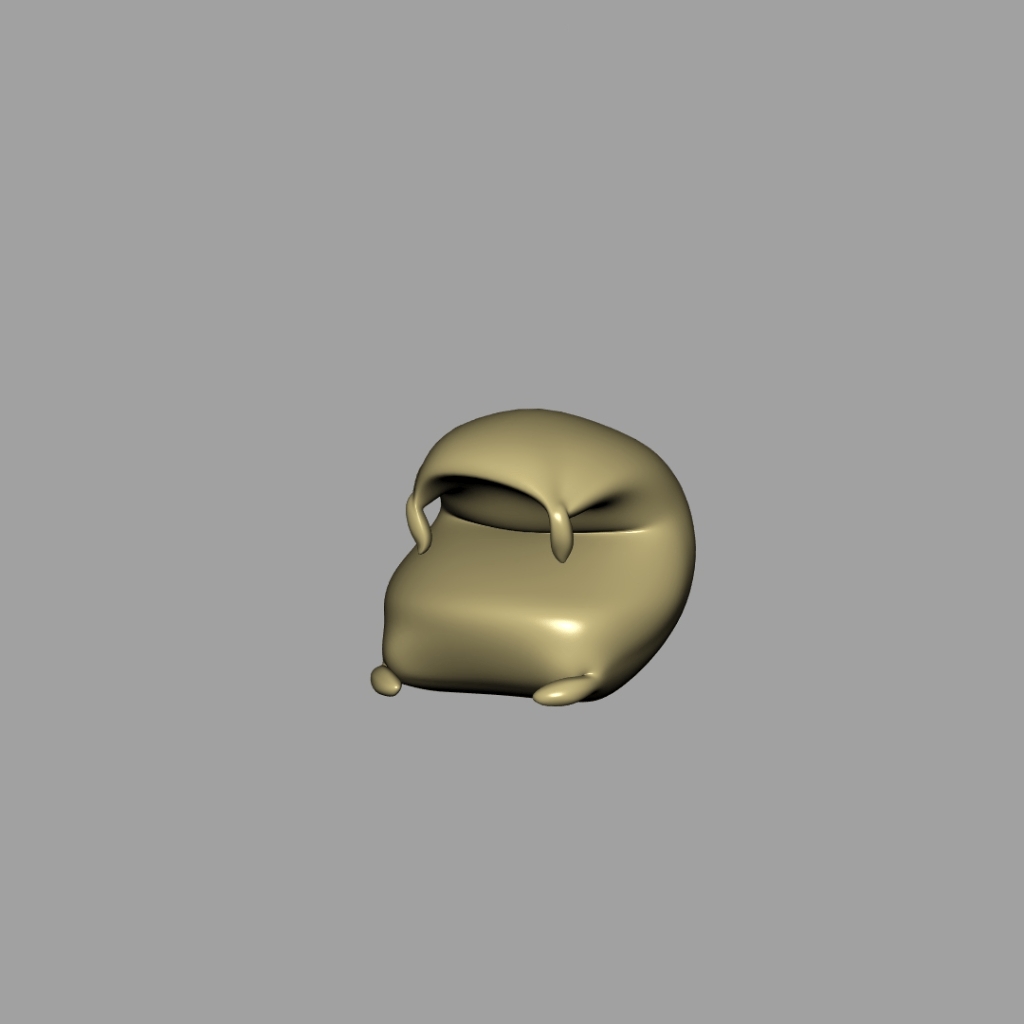
Several years ago, I did an exercise where I create poses that clearly followed a line of action. The best way to start learning this idea is with a simple character. I chose a flour sack, an animation staple! It’s a single mass, with a few dangly bits on the top and bottom. Just enough information to create a sense of flow and character. Here are some examples of the poses I made. On the right you can see the line of action I was going for. The top two follow the basic C-curve, while the third creates a slightly more complex S-curve.

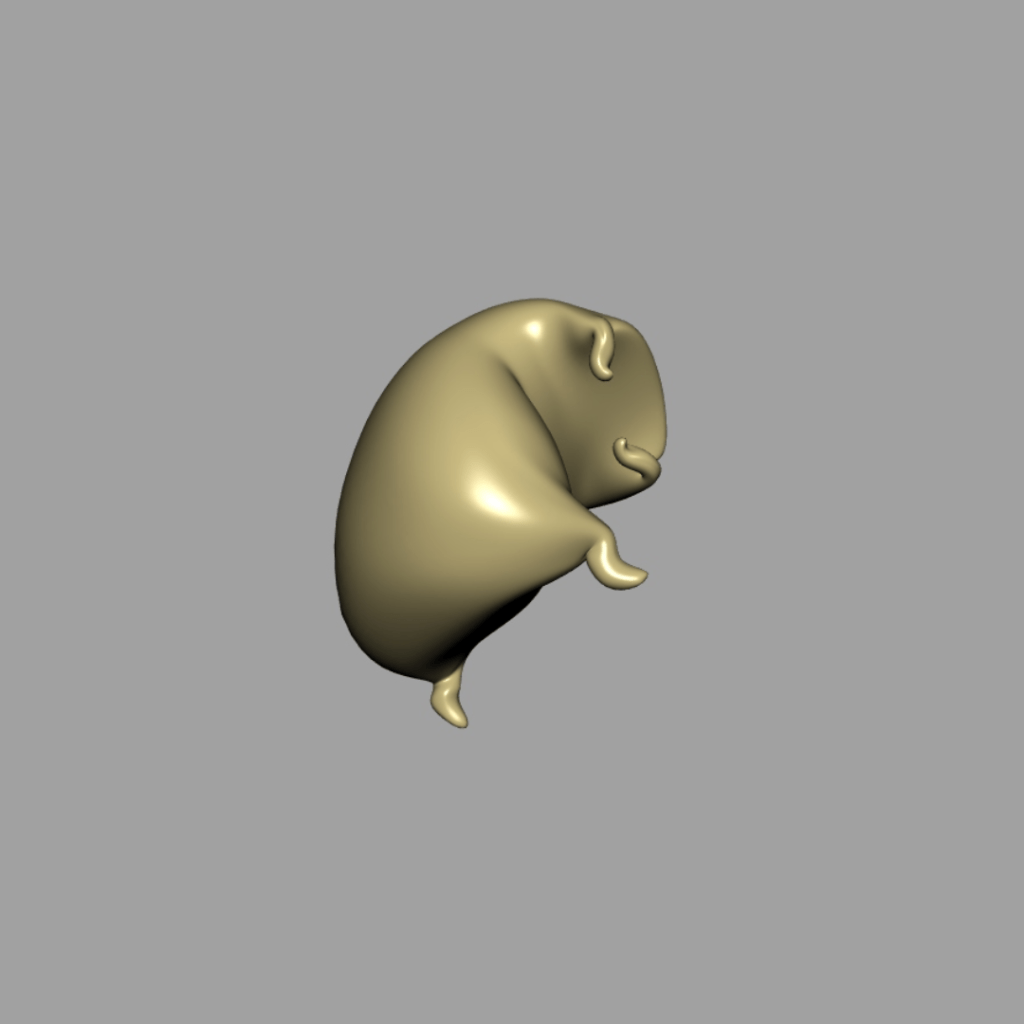

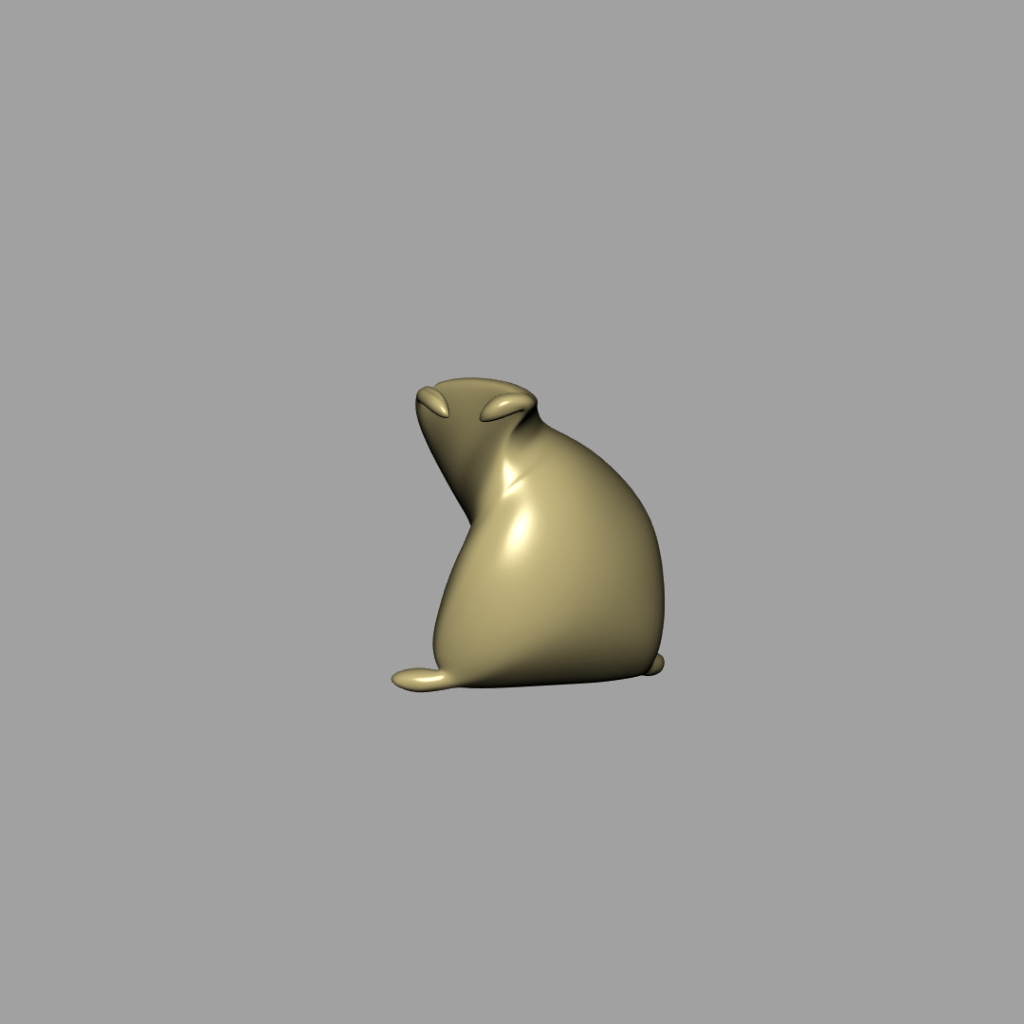

Fairly straightforward, right? Here’s another pose! What’s the shape of this line of action? More of a C-curve or an S-curve?
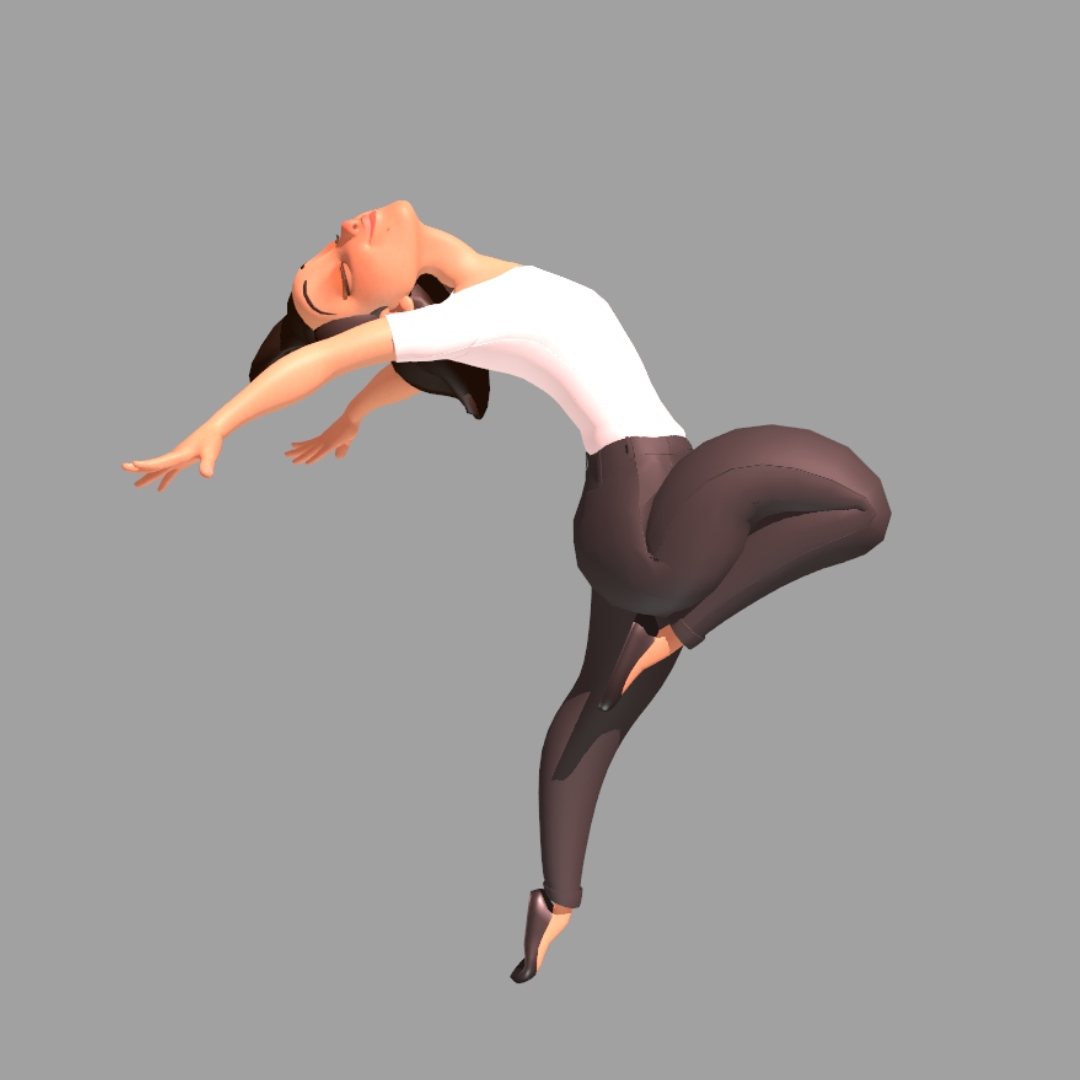
The simplicity of the flour sack makes it a great way to start thinking about lines of action. But after I created those poses, I wanted to try something a bit more complex. So I decided to make some poses using a full character!
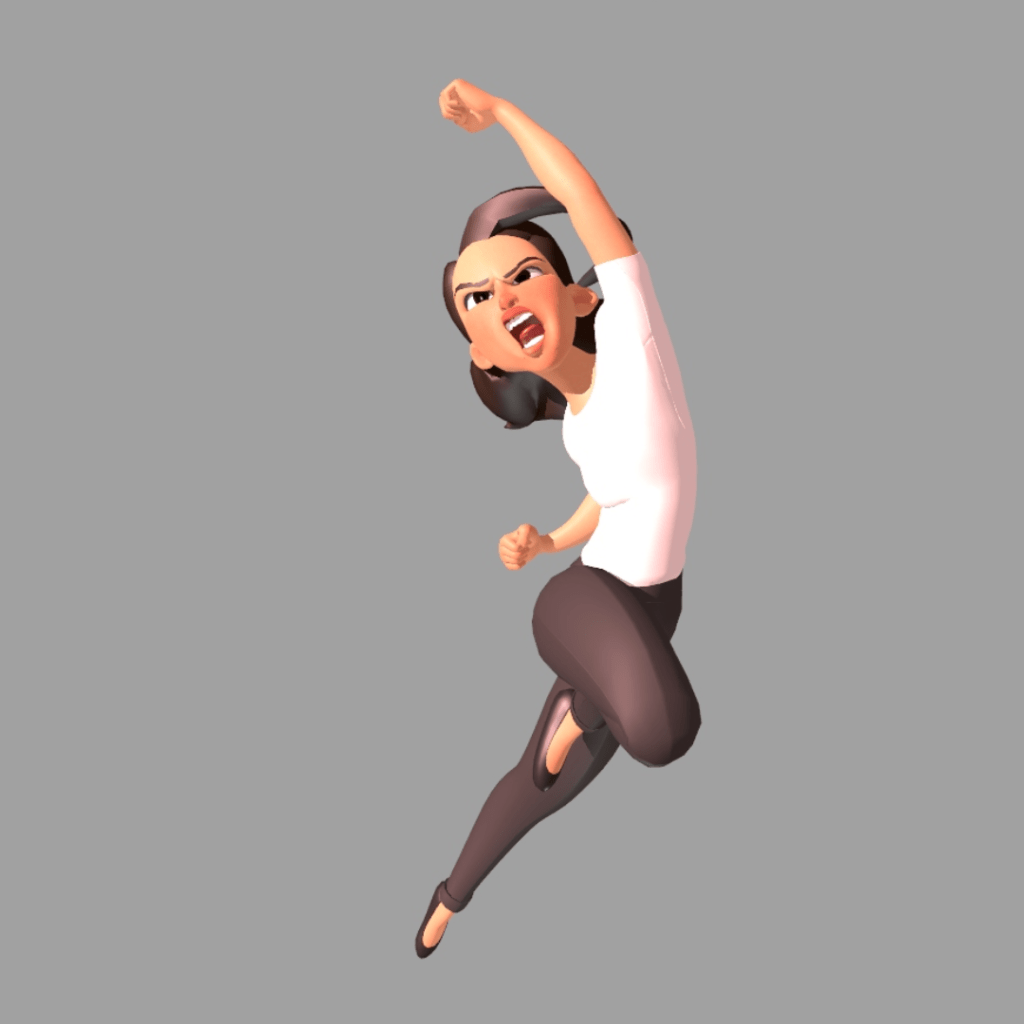
Unlike the flour sack, which is a single mass, the human figure is slightly more complicated. We have arms, legs, a head, and a torso that can contort in all sorts of ways. But the goal here was to simplify things. So I made sure to have a single directional flow to the character’s overall movement. Check out my example below:
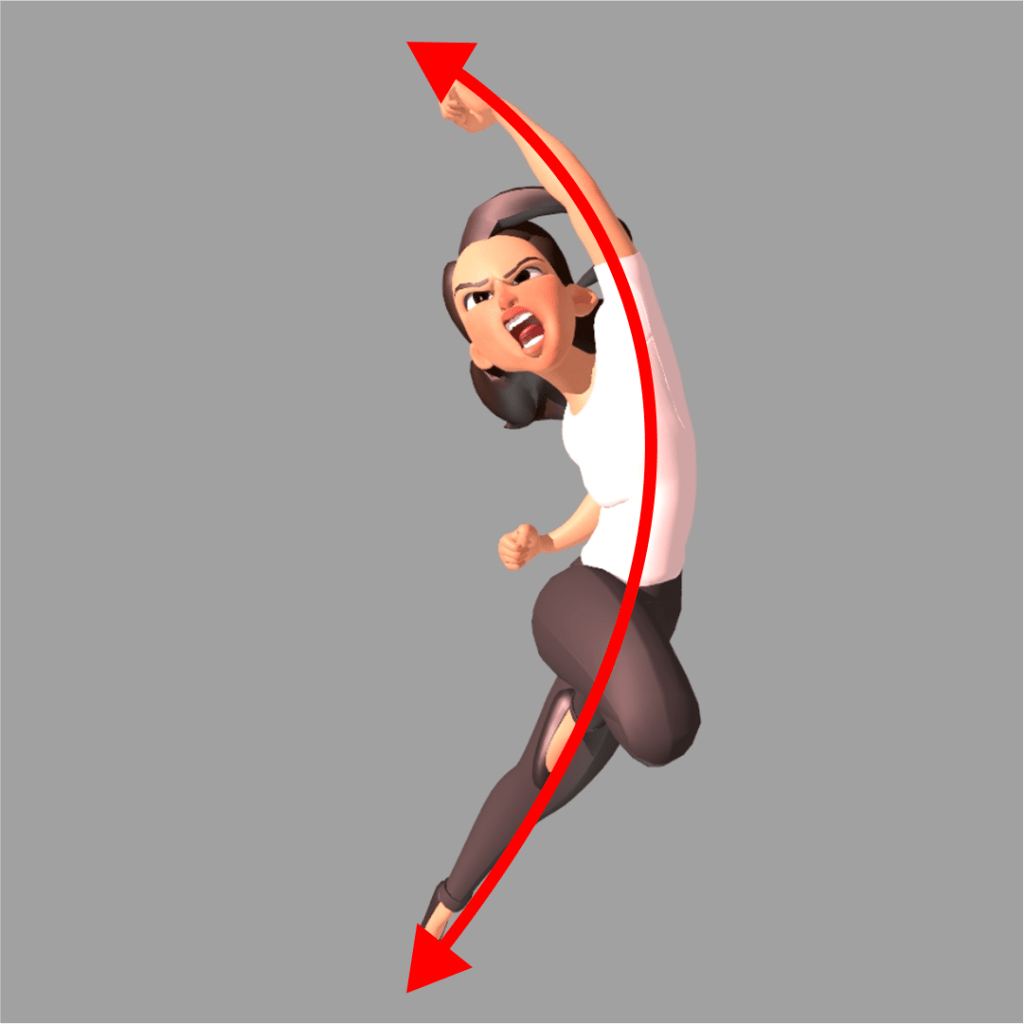
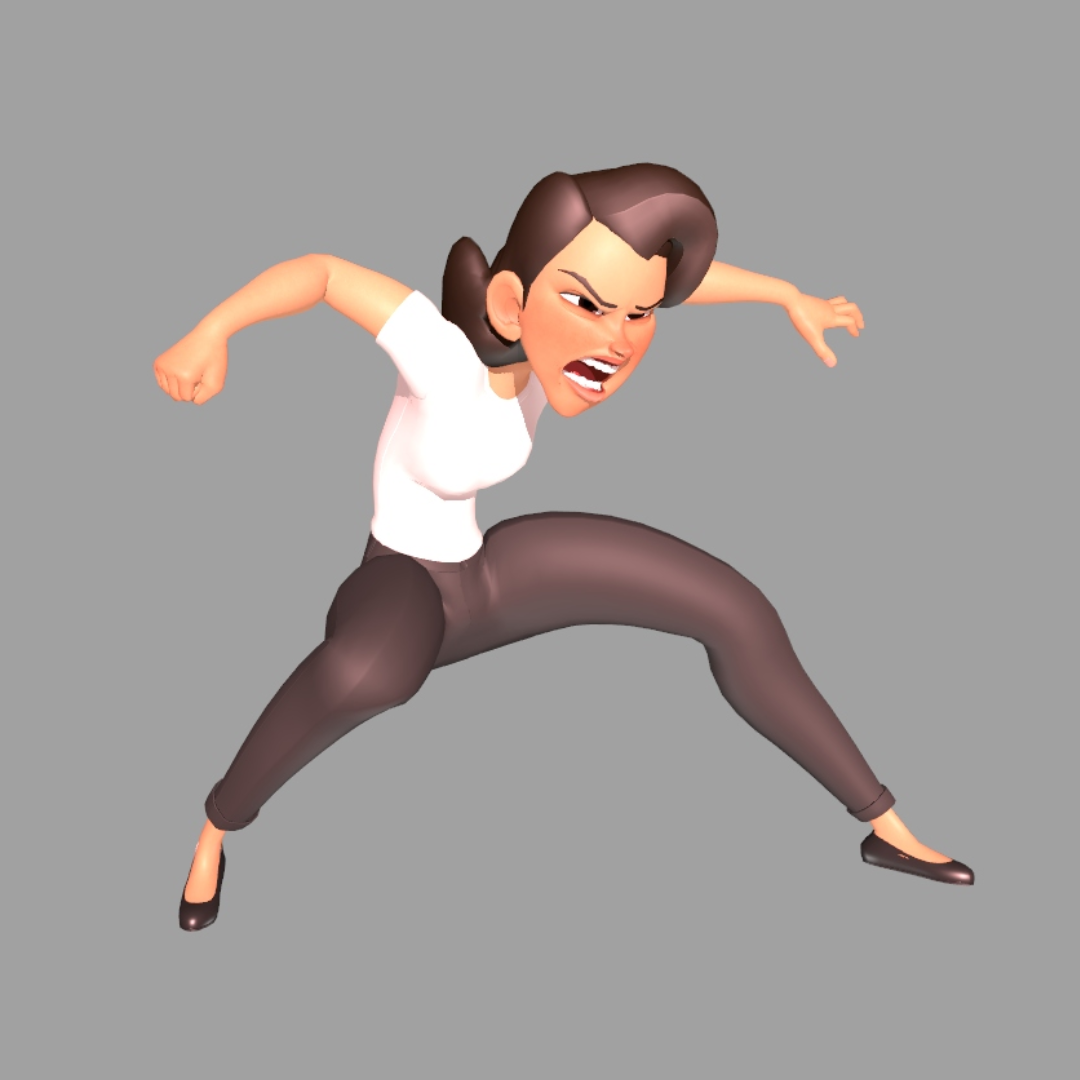
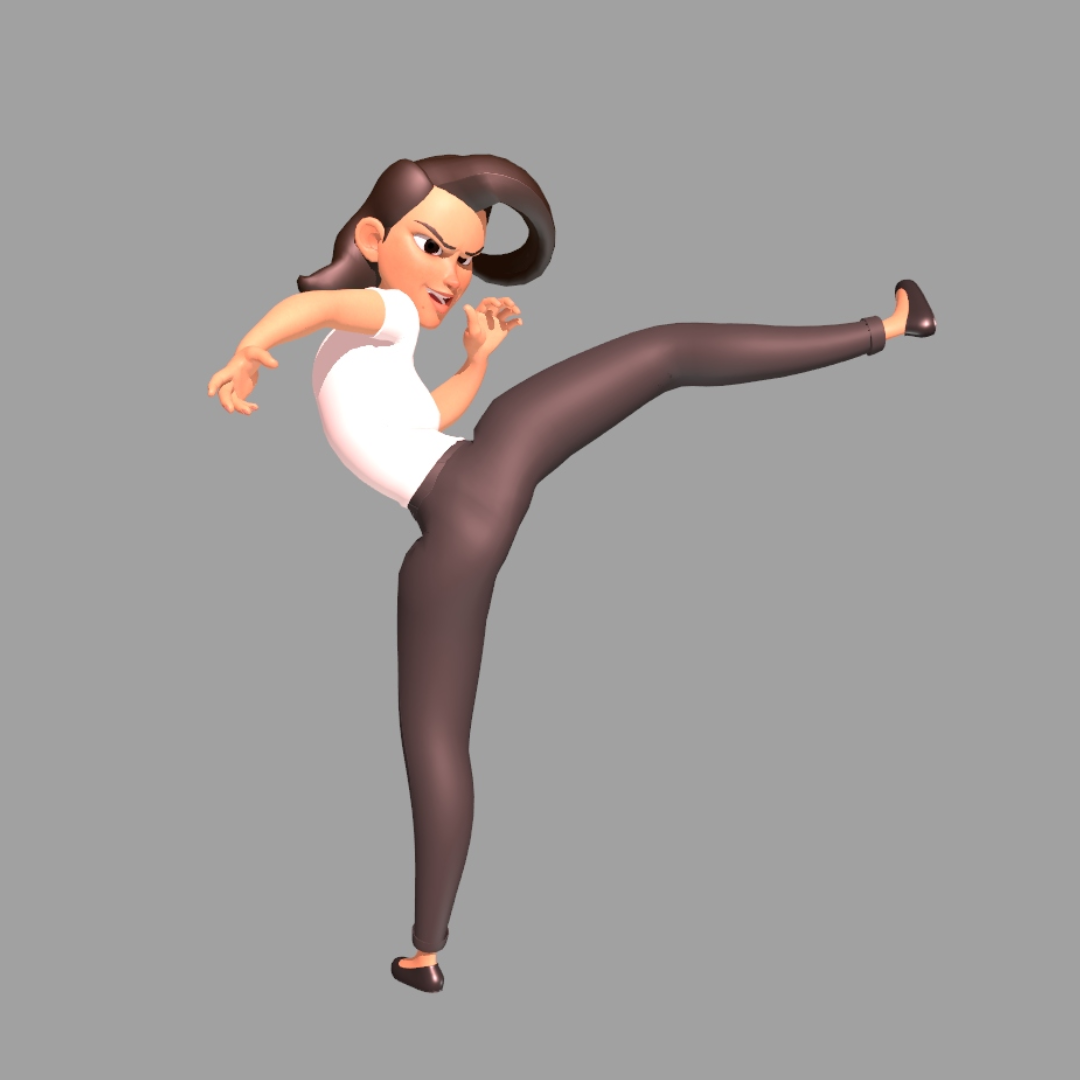
But because we have arms and legs, sometimes you end up with a sort of secondary line of action. These are great since they can create appealing contrast to the overall pose. Anything that creates more energy and flow is a plus! Take a look at these poses:

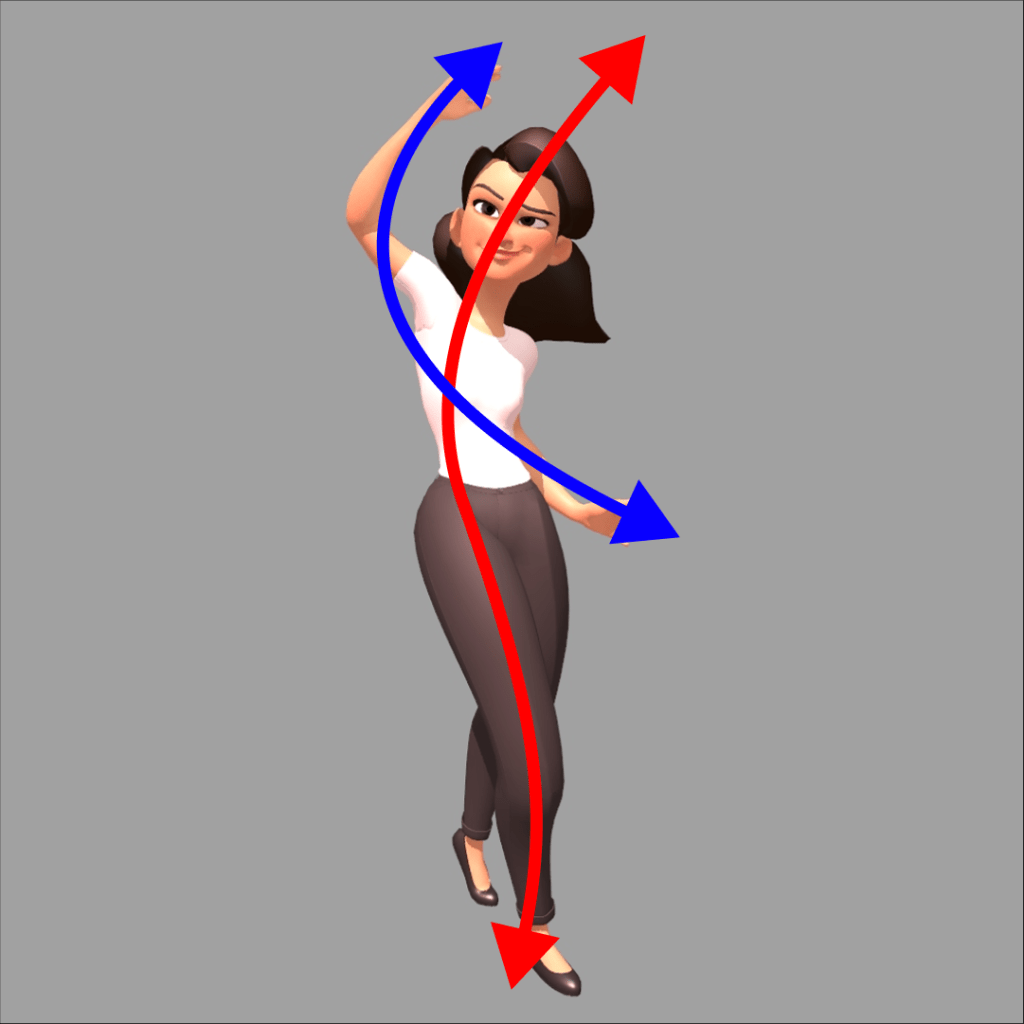


Despite the complexity, there’s a still a main direction to the character. I just made sure to use the outstretched limbs in a way that also creates a curve. Take a look at the other poses I created below. As you do, look for the main line of action. Try to spot the secondary lines of action too!


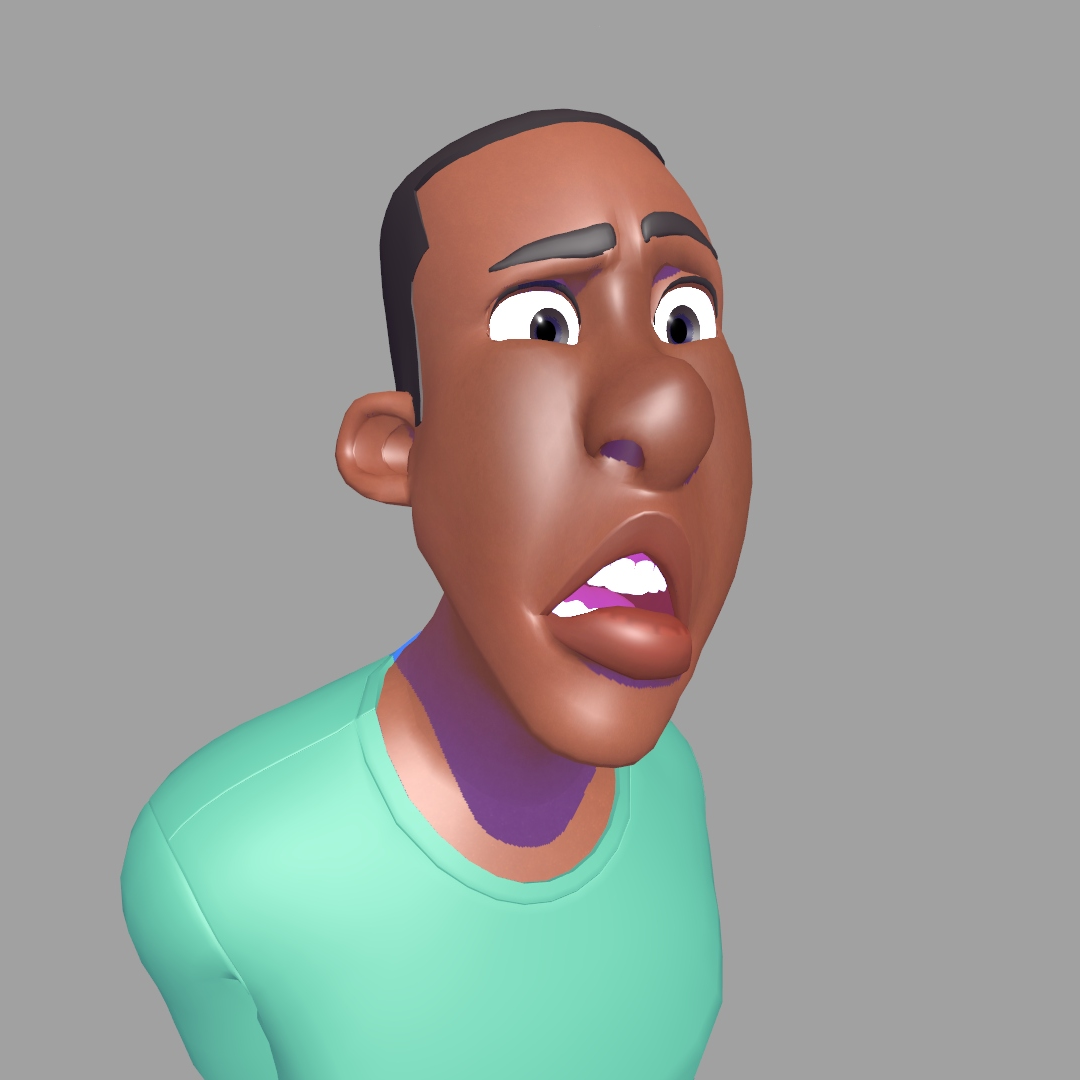
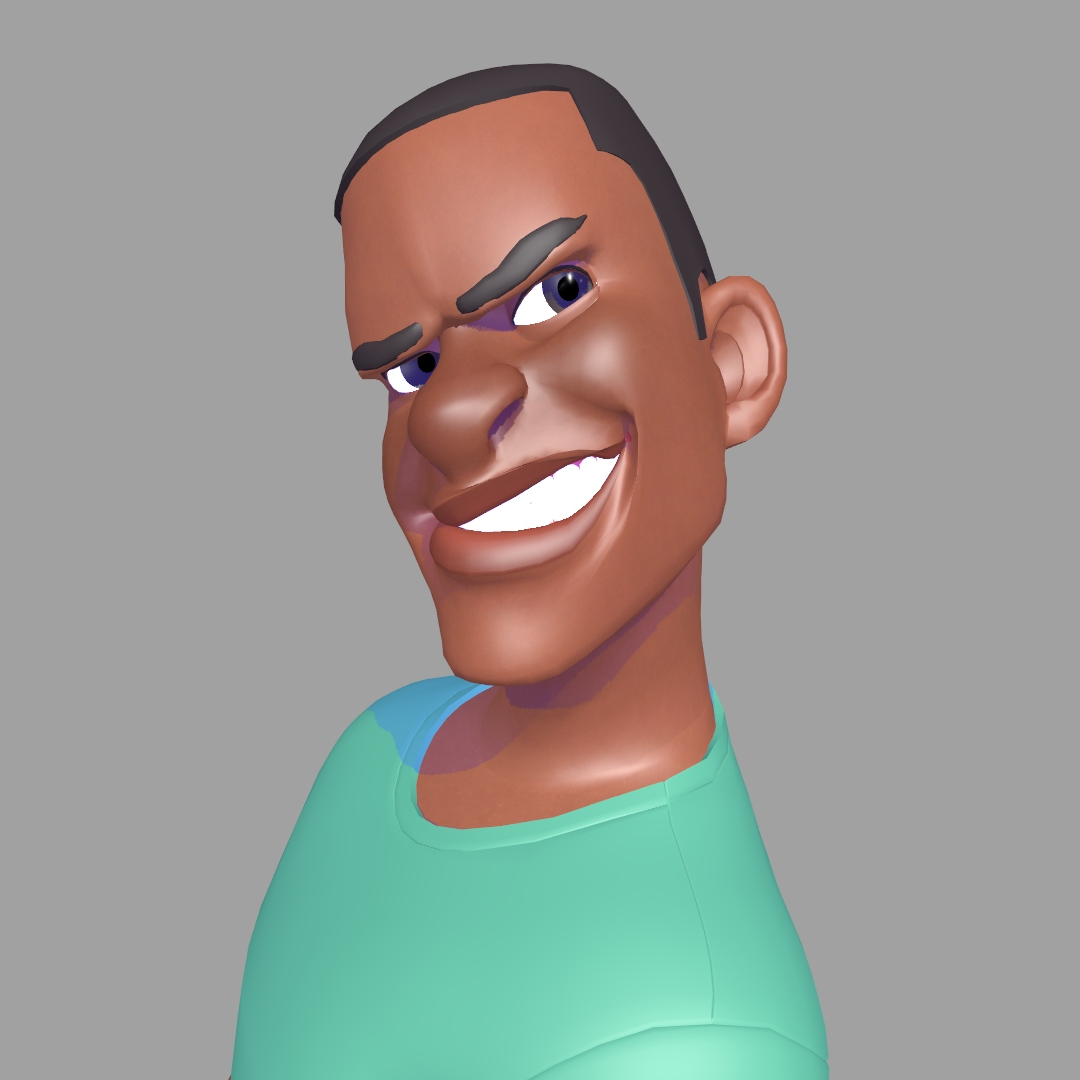
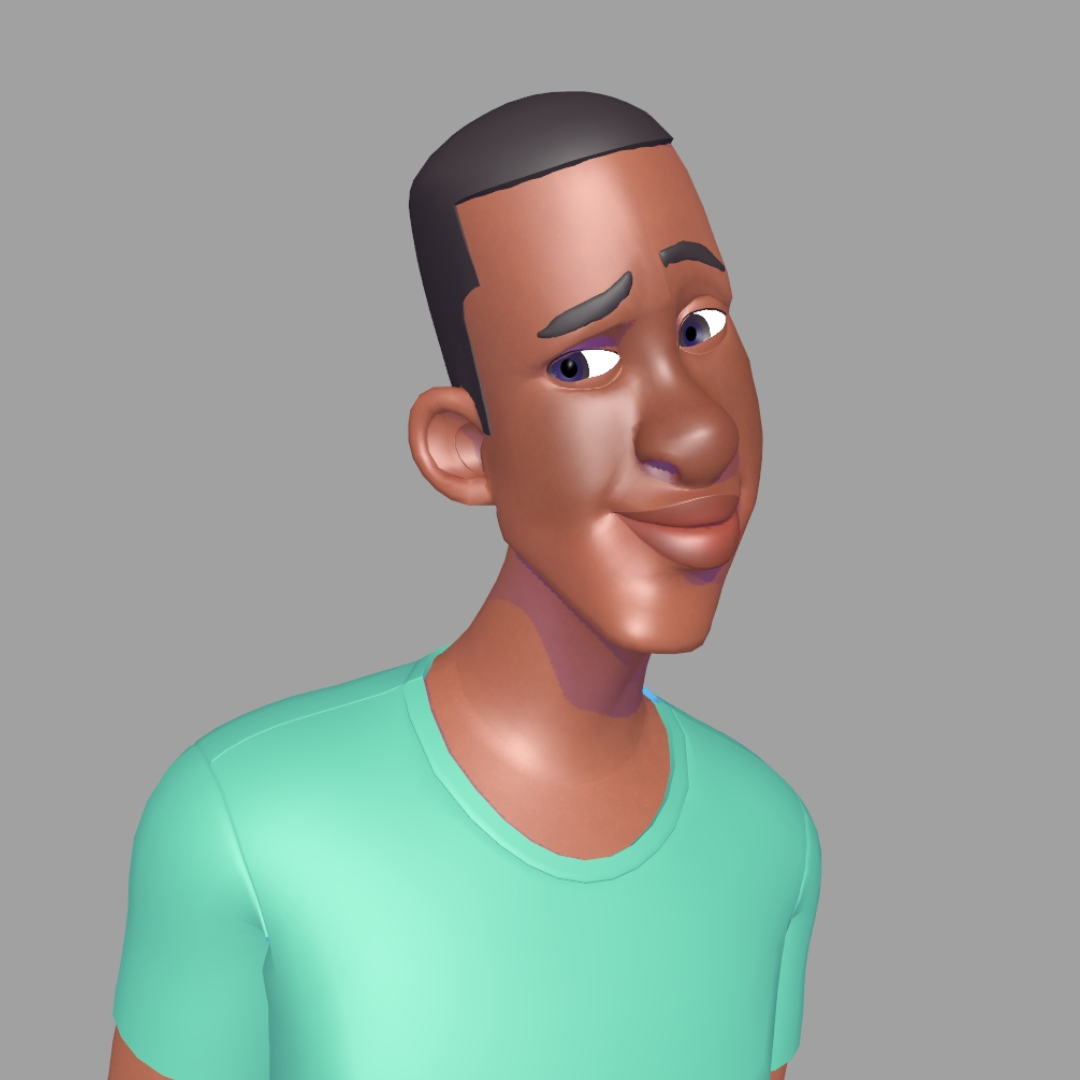
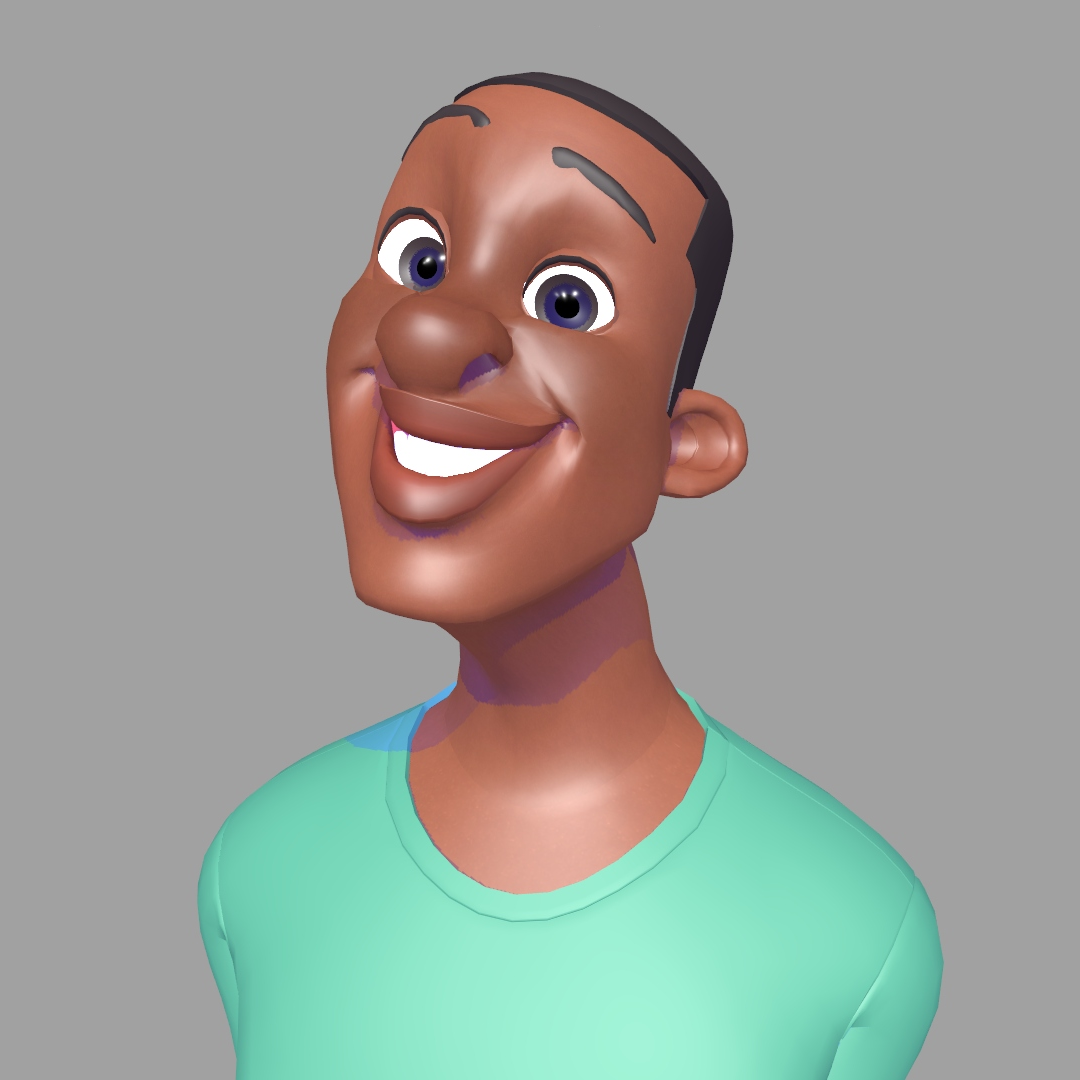
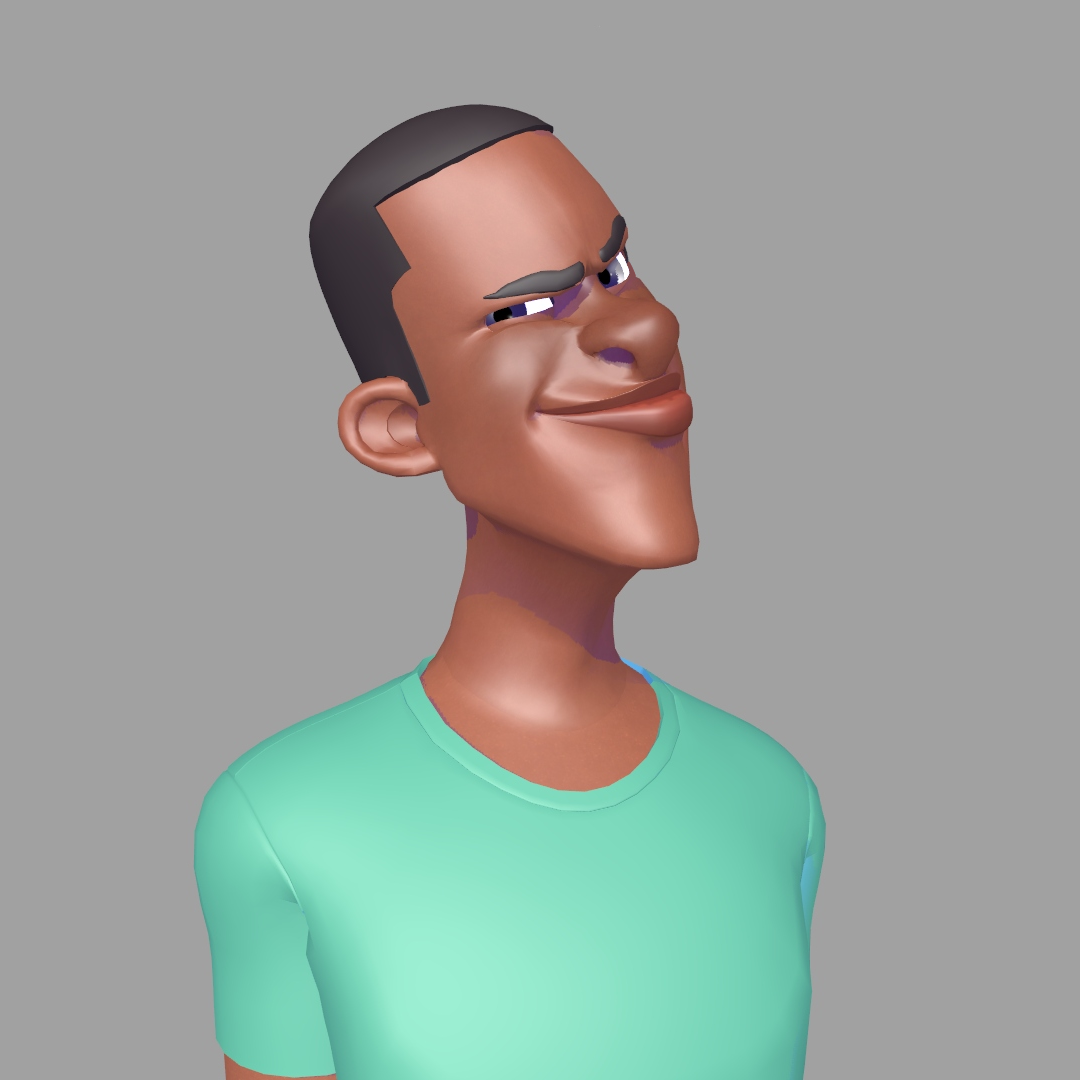
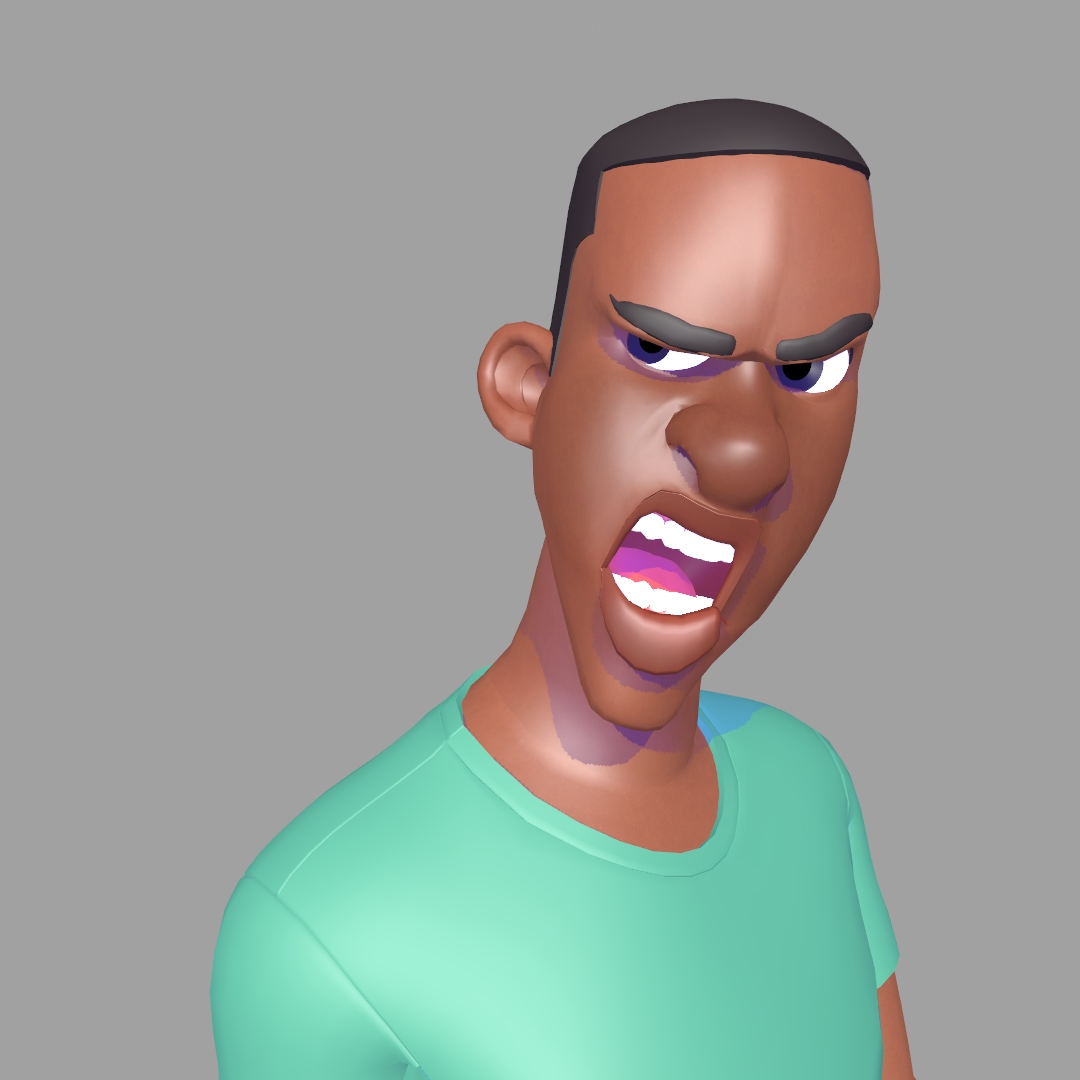
Lines of action don’t just apply to full body poses! Even just a character’s head can be simplified into a line of action. After making those full body poses, I created some facial expressions that had lines of action too.

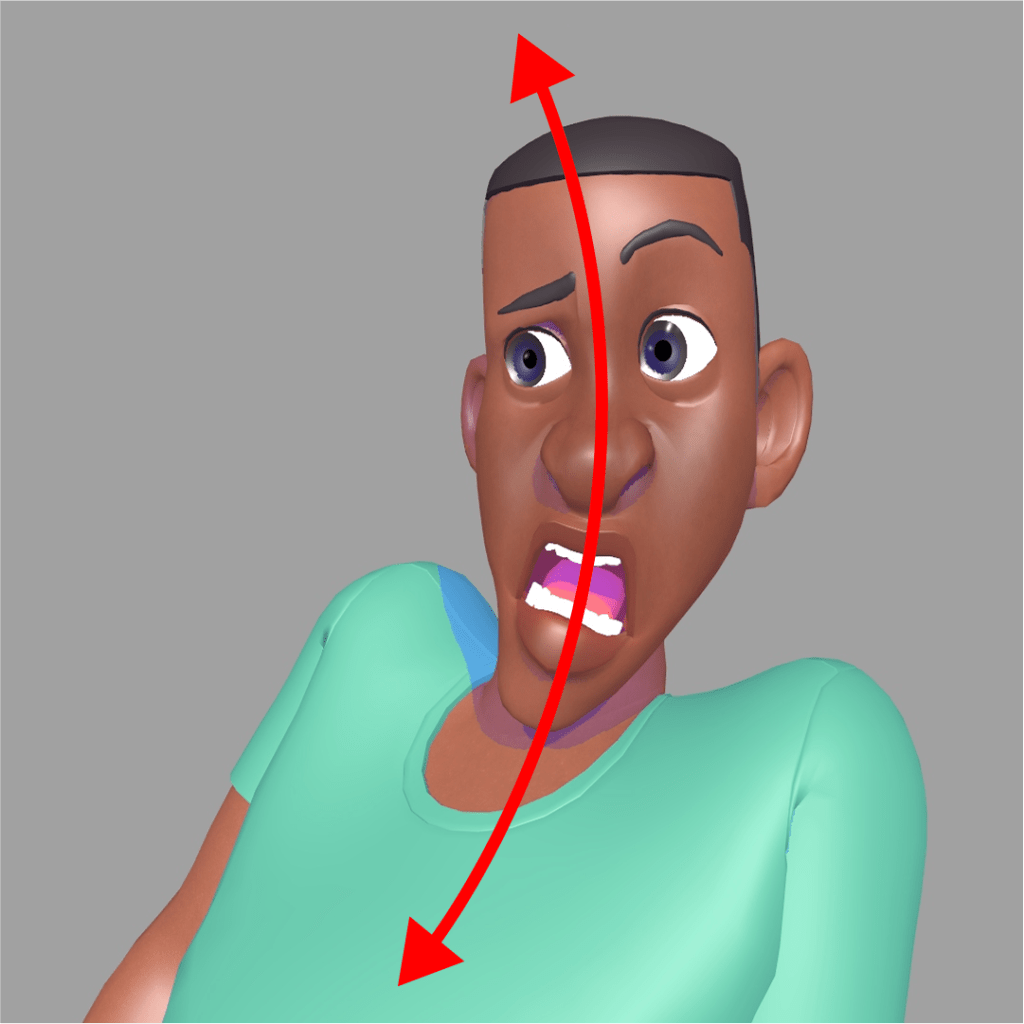

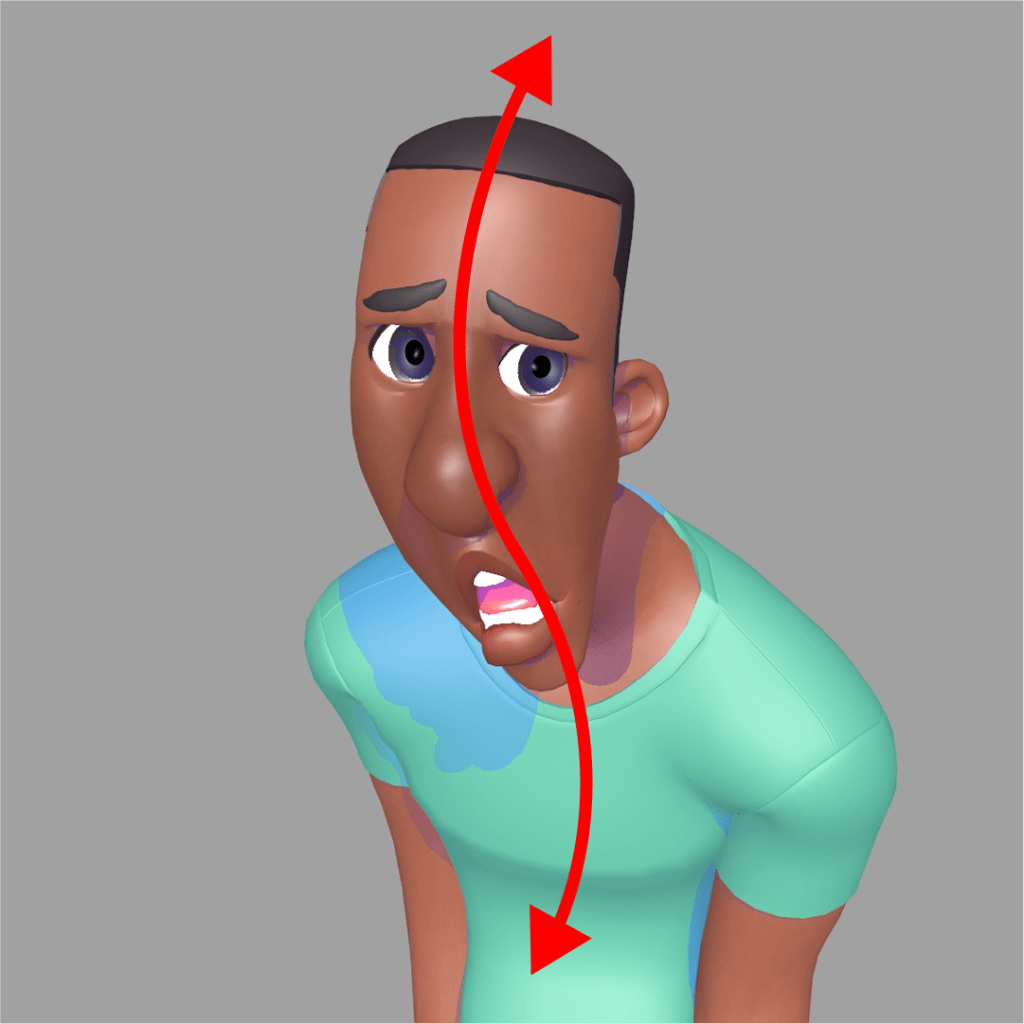
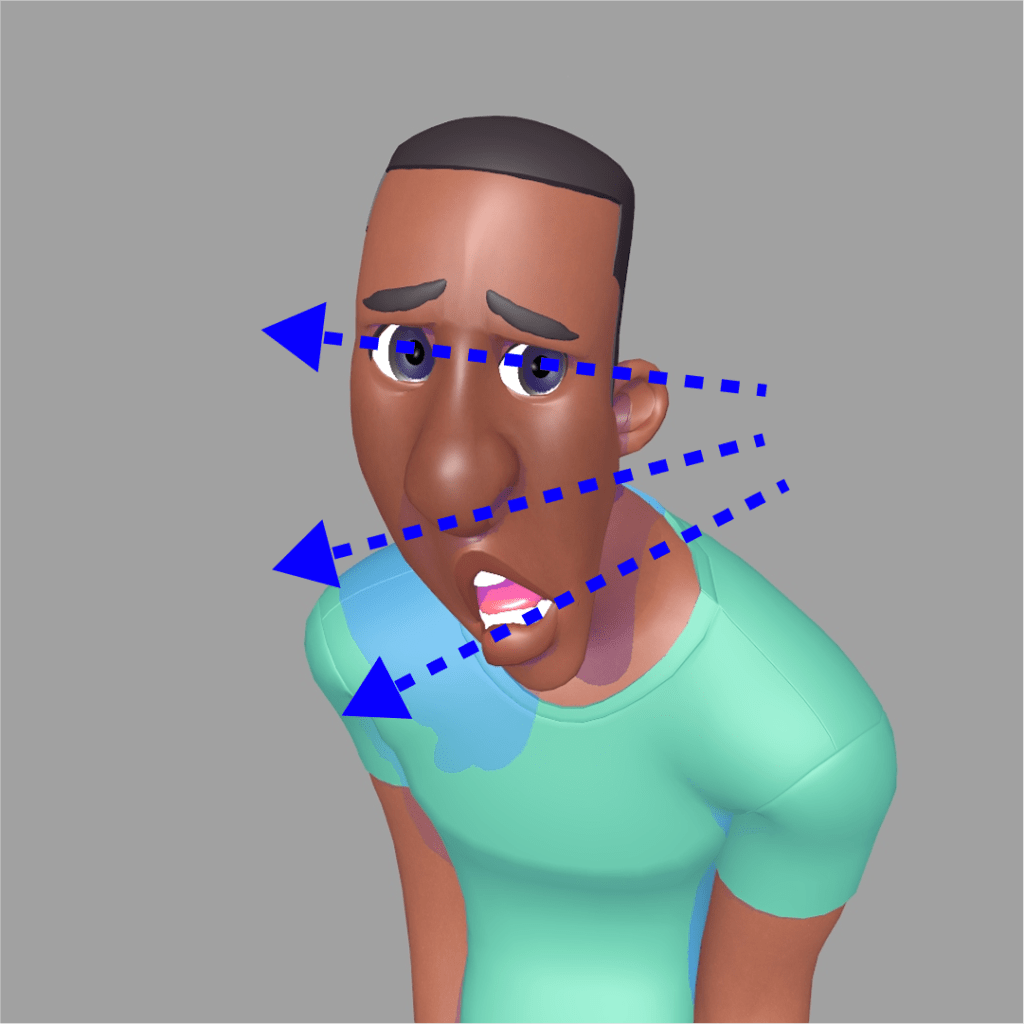
Here’s an important note! When you’re creating C-curves and S-curves for the head, make sure that the facial features also follow suit. This alignment creates appeal and consistency. If the pose is curved, make sure the features aren’t parallel. Have them follow the curve! Here are a couple examples:
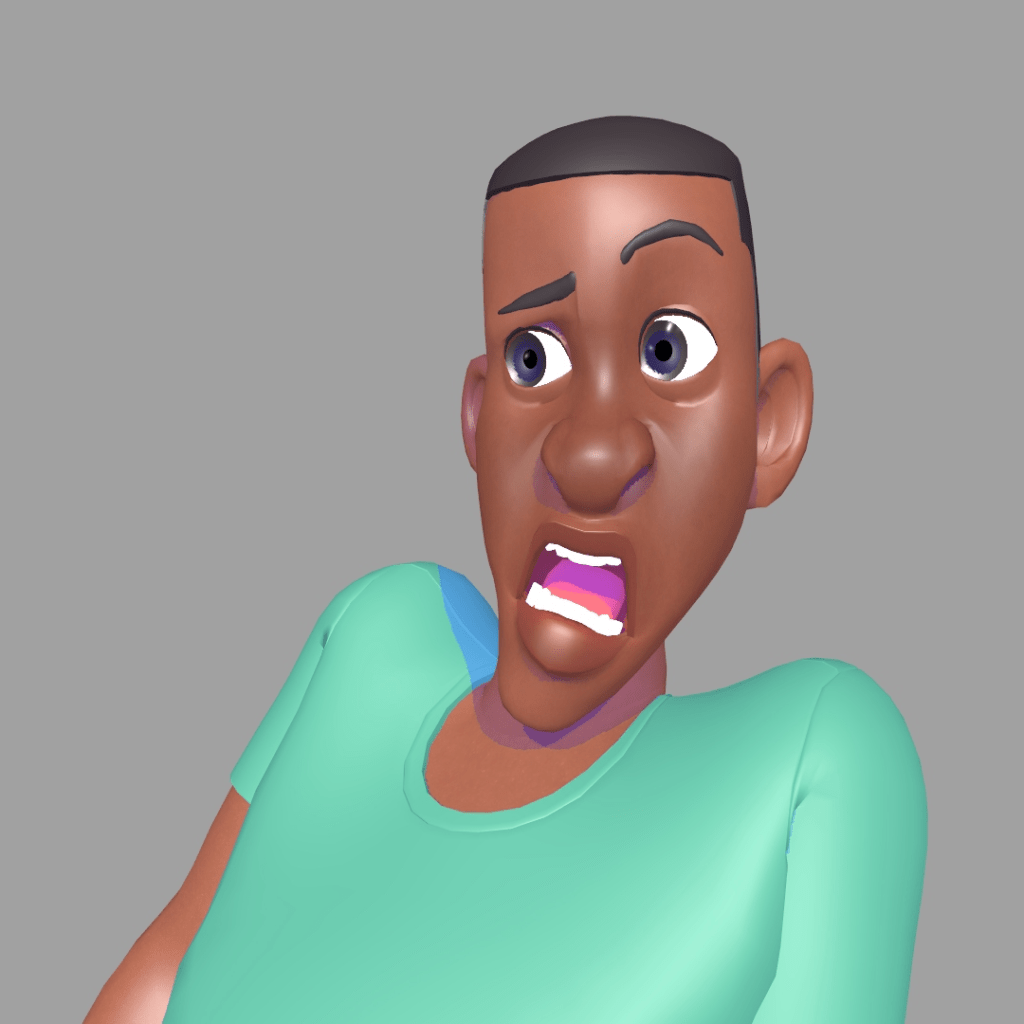
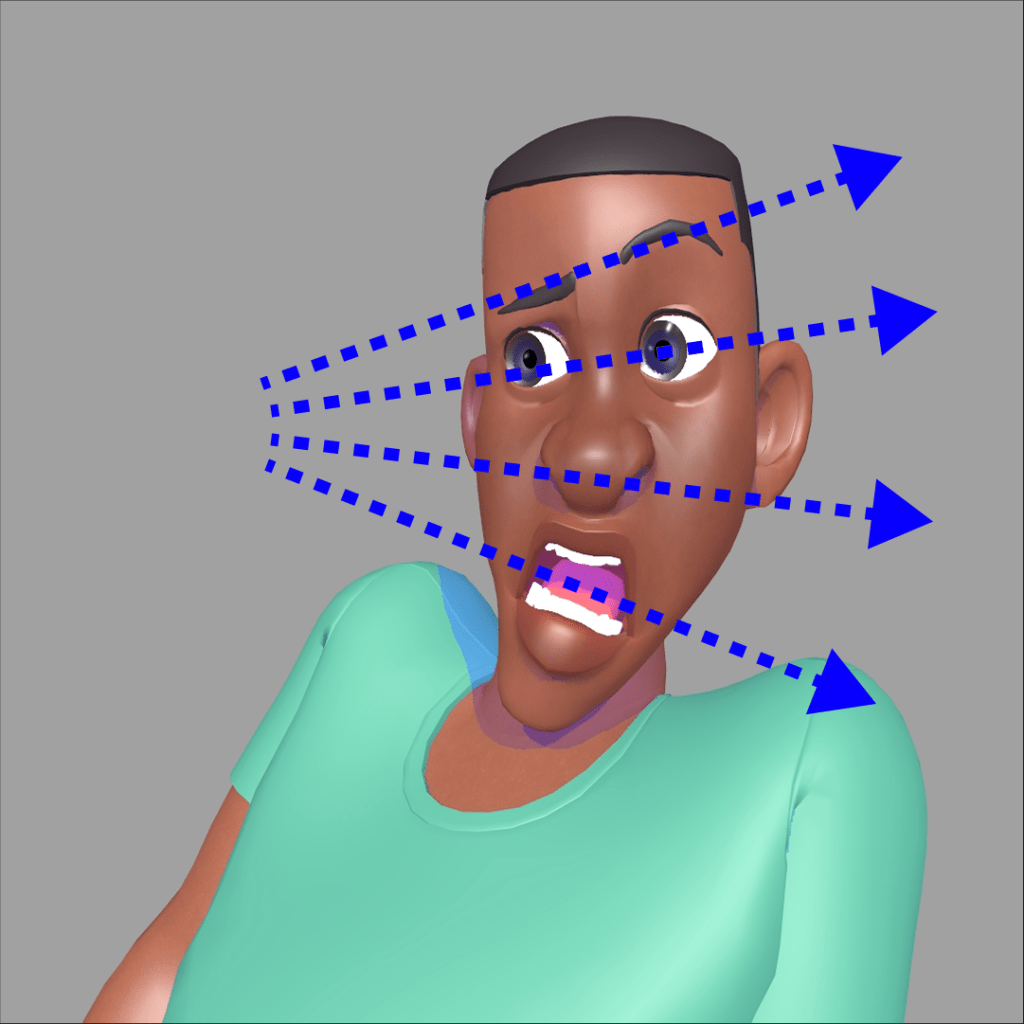
Much like the full body example, I made a whole series of poses for the head. Take a look at them and try to find the line of action! Do the facial features follow the curves as well?


Establishing a line of action at the start is really important for creating an appealing and readable pose. Make sure that the viewer can clearly understand the basic intention of the character. For illustration, it’s important when drawing a character. And it’s especially important for animation, since the character is literally in motion. One pose leads into another, and so direction and flow is crucial. So If you’re an animator or an illustrator, keep the line of action in mind!
Thanks for reading!
Flour Sack Rig by Joe Daniels
Amy and David Rigs by Gabriel Salas
My Links: ArtStation / Cara / Vimeo / YouTube / Instagram


Leave a reply to Jamie Cancel reply